Use this content type for creating the comic-style scenario pages.
Landing page links
The landing page links will be created automatically from the following fields, available on each scenario page:
Select a Website section (e.g. "Separation & Divorce") to determine which landing page the story will be linked from.
The Intro Text appears above the comic and as the description for the scenario on both landing pages and the scenarios listing page.
The feature panel is a square thumbnail image that displays on landing page and the scenarios listing page. It will not appear on the scenario page itself and only one can be selected. Add a thumbnail by choosing Add media and selecting or uploading a new image.
Comic content
The story panels are the individual images that make up the comic story. Each one should be added as individual image files. They can be re-ordered once they have been added to the page. The recommended naming system for the story panels is “Story name - Panel 1 of 12”.
The Body text will appear below the comic and should link to any relevant information or resources.
A transcript should be added to each comic for users with visual impairments. It should describe the action occuring in each panel and transcribe any dialogue.
Example
Panel 1 (Sue and Niki are in the kitchen, Niki is sitting at a table while Sue leans on the counter)
Niki: Thanks for taking me in as a roomie, Sue. Donny is staying in the apartment for now.
Sue: Of course, Niki. Finding a place to live is pretty much the first step when you separate.
Linking Scenarios on other pages
Click on any image to see a larger version
Information pages
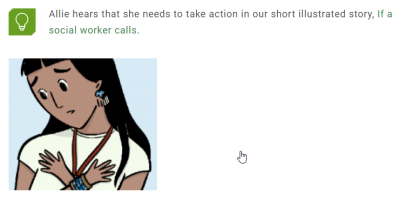
On information pages, add the link to the scenario in a Wellness bubble. It’s okay if there is already another wellness bubble on the page; there can be more than one.
Intro text
- Copy the intro text from the scenario page and paste into the WYSIWYG panel. Add a link to the scenario to this text.
Add, style, and hyperlink the image
- In the WYSIWYG panel, put your cursor where you want the image, and click on the E symbol in the button bar.
- Type the title of the scenario you're looking for into the Keyword field. Choose Scenario panel from the Type menu. Click Filter.
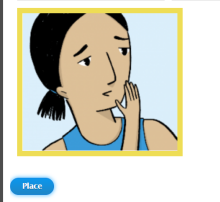
- Load all the relevant images for the scenario until you find the one from the subject's landing page. (It’s a square enlargement of a comic panel, with no dialogue in it.) Click on that, scroll down to the bottom, and click Place.
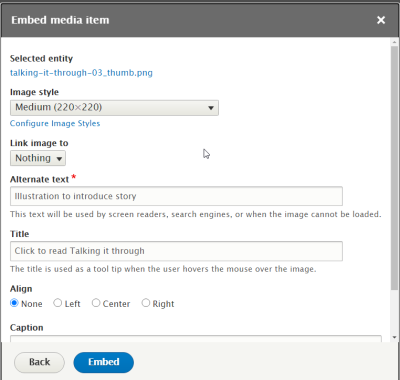
- In the Embed media item dialog, choose Medium (200 x 200) from the Image Style dropdown. Change the title to "Click to read [scenario title]". Click Embed.
- The image should now show in the editor window.
- Click on the image, and press Ctrl-K to bring up the hyperlink menu. Type in the story title to add a link to the story page
Sub-landing pages
Sub-landing pages don’t allow for Wellness bubbles in the right sidebar, so follow the instructions above but style the introductory text as a Tip.


